STEP BY STEP PROCESS
Let us Build your NEW Pool!
STEP BY STEP PROCESS
Let us Build your NEW Pool!
Where the Build Begins & Ends
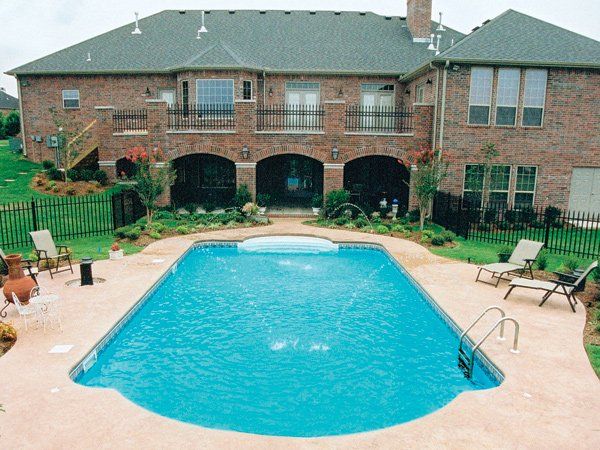
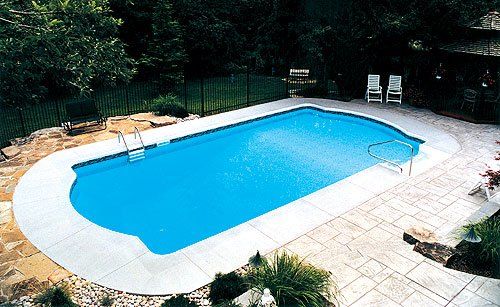
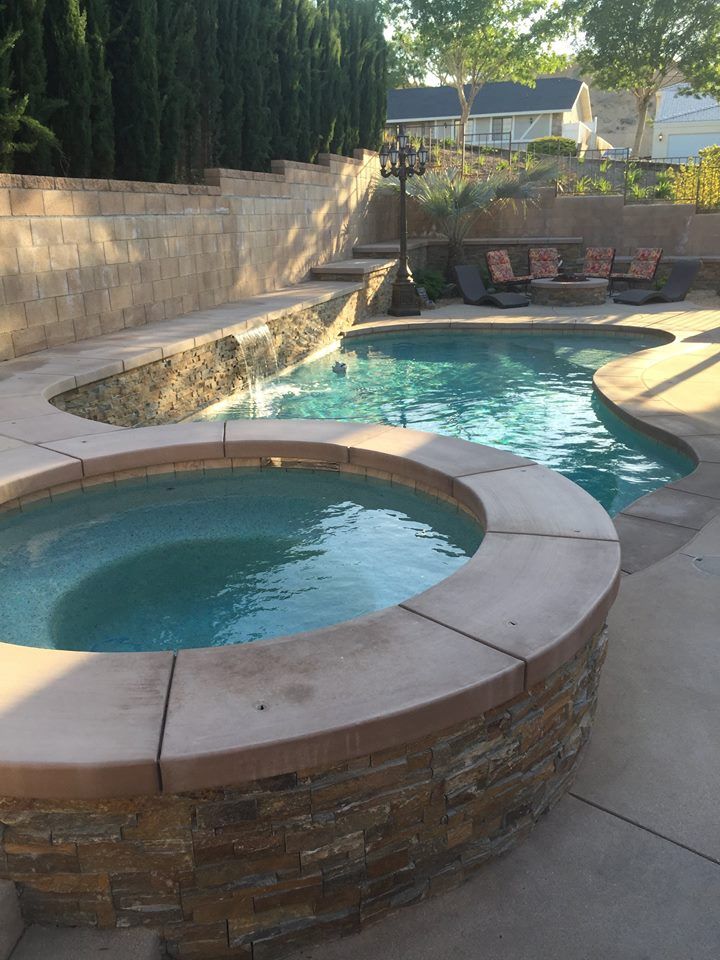
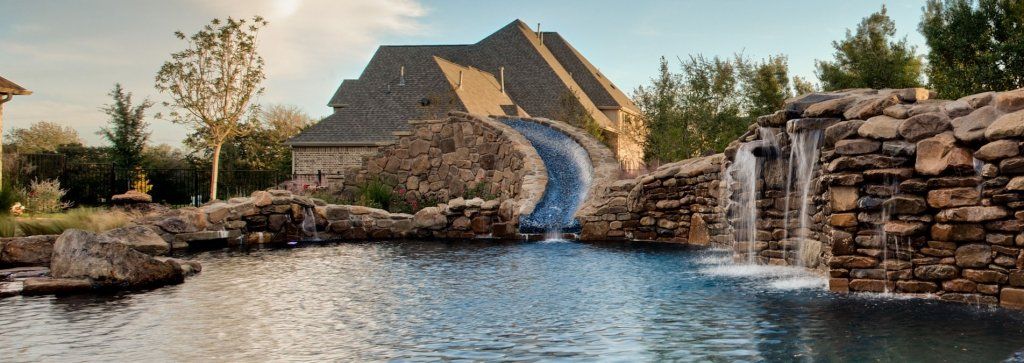
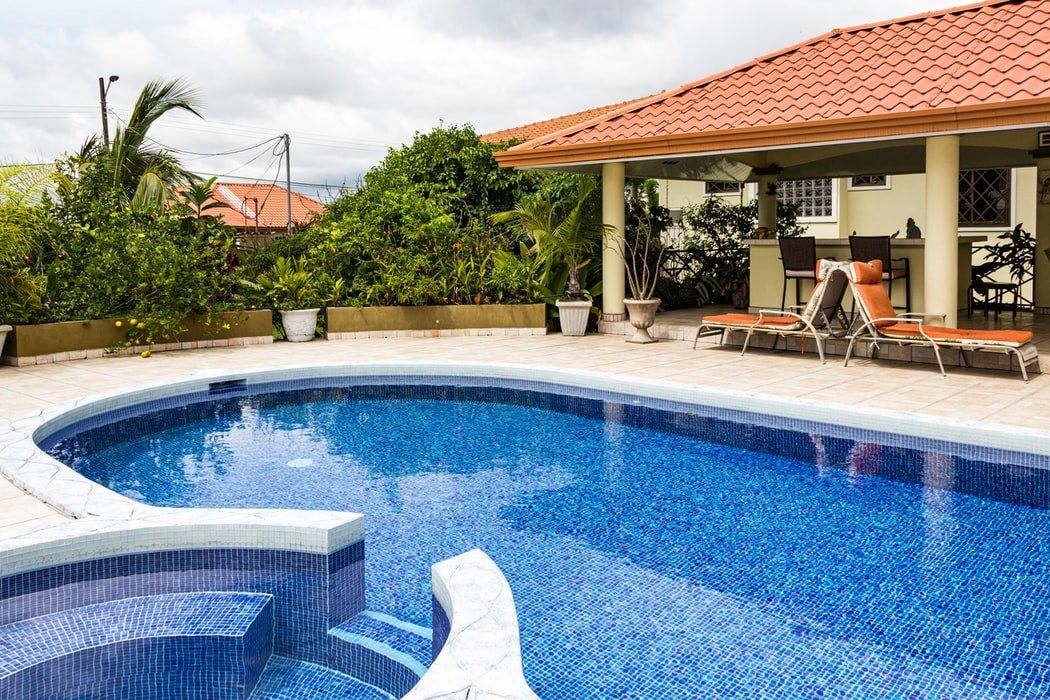
Welcome to Custom Mojave Pools
Steps 1-10: An Approximate 6-12 Week Process (typical projects)
This step-by-step summary exemplifies the basic process behind your pool build. Upon signing of your contract, you will be delivered a custom schedule and detailed/customized plan for the process of your pool build.

- Step 1: Layout & Design
Consult with our designers and engineers to assist with the 3D custom pool design. Our architects will begin the process by spray painting the design on the ground area in your yard, where the pool will be located. We want to be certain that you are pleased with the layout before we give the excavation crew the guide for the dig. This step of the process can take up to a week, although this can depend on how many revisions are necessary to complete the layout.

- Step 2: The Dig
This excavation is an exciting time for the kids as well as the adults. Everyone loves big machinery, and you will be able to watch your backyard take the shape of your new swimming pool right before your eyes. Our craftspeople make it look easy, but it takes a lot of time and experience along with a lot of hard work to gain the knowledge and ability to do what they do. Week 2: This process takes approximately 2 days, then up to 1 week for the pulling of permits.
- Step 1: Layout & Design
Consult with our designers and engineers to assist with the 3D custom pool design. Our architects will begin the process by spray painting the design on the ground area in your yard, where the pool will be located. We want to be certain that you are pleased with the layout before we give the excavation crew the guide for the dig. This step of the process can take up to a week, although this can depend on how many revisions are necessary to complete the layout.
- Step 2: The Dig
This excavation is an exciting time for the kids as well as the adults. Everyone loves big machinery, and you will be able to watch your backyard take the shape of your new swimming pool right before your eyes. Our craftspeople make it look easy, but it takes a lot of time and experience along with a lot of hard work to gain the knowledge and ability to do what they do. Week 2: This process takes approximately 2 days, then up to 1 week for the pulling of permits.
- Step 3: Steel Installation
Week 3 of the installation process consists of the steel installation, this process take approximately two days. The family can sit back and relax, while watching our builders utilize the various techniques that are required to bending and forming the steel to the shape of your new swimming pool.
- Step 4: Plumbing & Electrical
Plumbing is one of the more important steps in installing a swimming pool. The plumbing is what maintains the circulation system. The features that you have chosen for your pool can be the determining factor in how complicated the plumbing job can be. The hired plumber will be the person that installs the circulation and the main drain system, as well as the skimmer. All flowing systems that are requested according to your design will be installed at this time, such as therapy jets, deck jets, sheer descent, and any additional water features that you have chosen. This features that filter into the pool water are also a part of the plumbing process. This portion of the process takes up to a week, but this does include the necessary permits being gathered, for the electrical and plumbing.
- Step 5: Shotcrete
Consult with our designers and engineers to assist with the 3D custom pool design. Our architects will begin the process by spray painting the design on the ground area in your yard, where the pool will be located. We want to be certain that you are pleased with the layout before we give the excavation crew the guide for the dig. This step of the process can take up to a week, although this can depend on how many revisions are necessary to complete the layout.

- Step 6: Tile and Decking
The tile setter is a design artist that is responsible for the beauty surrounding the pool area. Tiles are utilized, at your request, to decorate the parameter. The tile and decking phase takes approximately close to a week (seven days) to complete. This is also dependent upon the design and square-footage of your chosen design.
- Step 5: Shotcrete
Consult with our designers and engineers to assist with the 3D custom pool design. Our architects will begin the process by spray painting the design on the ground area in your yard, where the pool will be located. We want to be certain that you are pleased with the layout before we give the excavation crew the guide for the dig. This step of the process can take up to a week, although this can depend on how many revisions are necessary to complete the layout.
- Step 6: Tile and Decking
The tile setter is a design artist that is responsible for the beauty surrounding the pool area. Tiles are utilized, at your request, to decorate the parameter. The tile and decking phase takes approximately close to a week (seven days) to complete. This is also dependent upon the design and square-footage of your chosen design.
- Step 7: Interior Finish
Our expert craftsmen are equipped with the knowledge and strength of directing the flow of the pressurized concrete. The trowels are used to knead the surface into the final design style. The interior finish is the concrete coating that is applied to the floor and walls of the swimming pool. The water is put into the pool immediately after the plastering process. The interior finish is completed after approximately three days.
- Step 8: Pool Start-Up
During the start-up phase the swimming pool is just about complete and ready to dive-in. The start-up technician is responsible for testing the swimming pool to ensure that it is functioning properly. For example, the start-up tech starts the circulating pump and sets the timer. Depending on the design, this will determine the overall job that the technician has to complete. If your design includes eye-ball fittings in the return and jets, this tech will install those at this portion of the process. The start-up technician will also thoroughly clean the pool and the tile deck. Once he has completed the scrubbing and brushing of the pool and surrounding areas, the tech will then begin the balance of the water and the chlorine start-up. The chlorine is added over a period of a few days to ensure that the proper amount is added, but not too much. The process takes about a day to complete, although to completely blue the pool, it will take a few more days.

- Step 9: Final Coating of the Deck
The final coat of painting is applied to the deck; this is the last step in completing the actual swimming pool constructing process. The applied painting adds shine to the pool and takes 12 hours of drying time. This process is complete within a day and a half.

- Step 10: Landscaping Begins
Week 8: This process takes up to 7 days. The landscaping design is the final step of your entire process and can take up to seven days, again, depending on the chosen layout style.